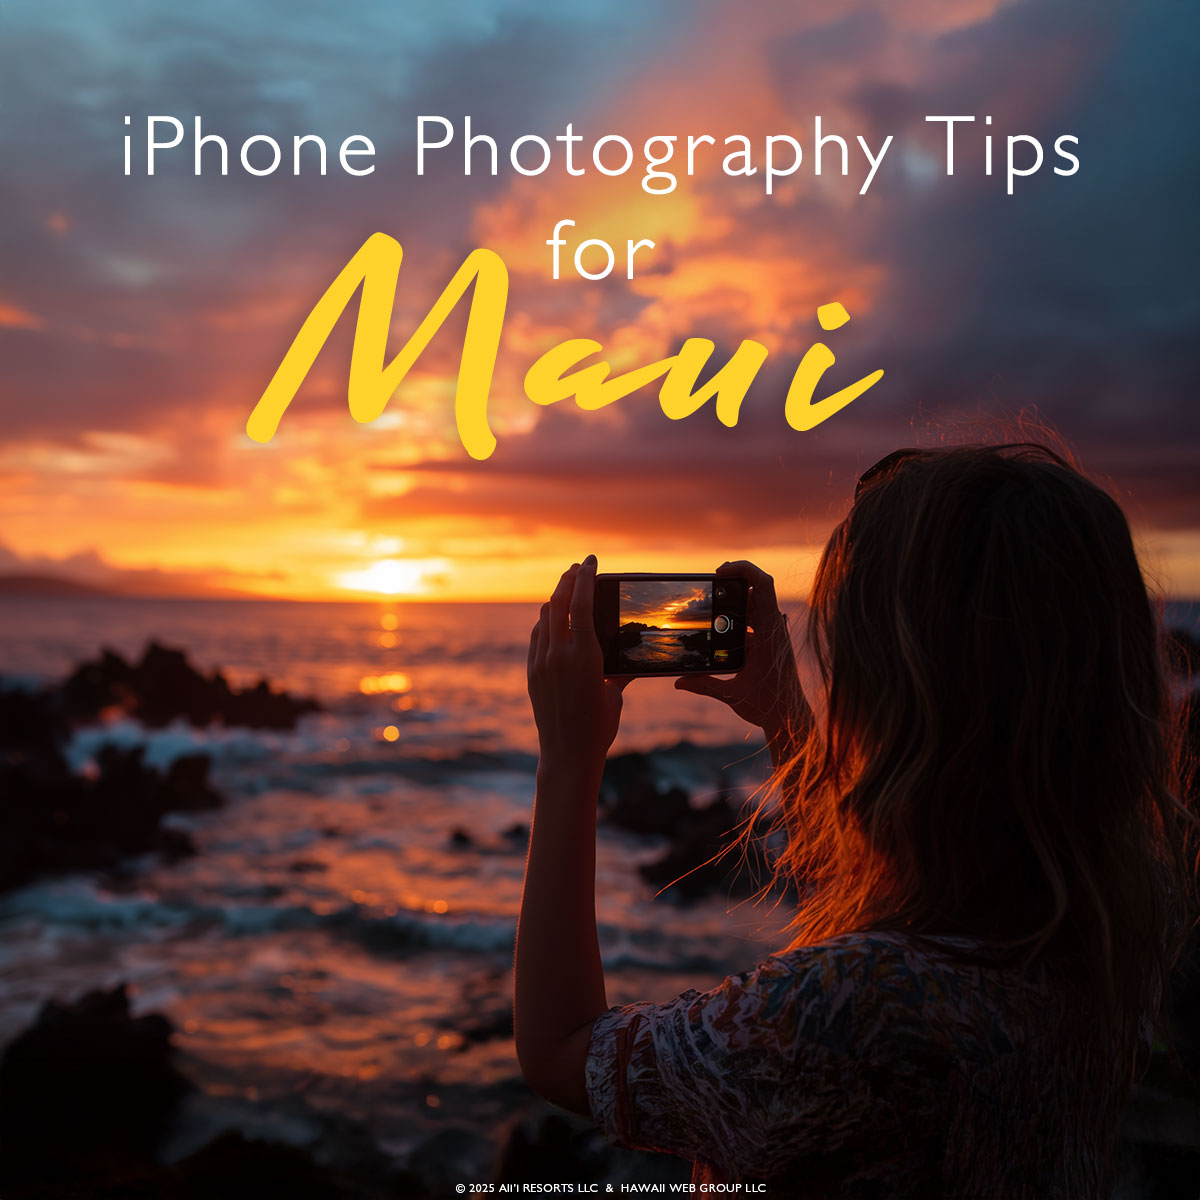
You’re on vacation, the sun is setting and oh darn the pro DSLR camera is back in the room. How should you set up the perfect shot with your smartphone so you can tell your story with pictures you can be proud of?

Impress yourself and learn 6 simple smartphone camera tips to improve your best vacation photos.
![]()
1 – Clean the Lens, Grid, Level, and Focus
Before you even start, make sure you’re set up properly.
- Make sure you don’t have fingerprint smudges on any of the lenses.
- Go to Settings / Camera and then toggle on the Grid and Level features under Composition. This helps in keeping the horizon level when shooting the ocean and gives you a nice grid frame to center or put your subject perfectly off center.
- Don’t shoot with LIVE turned on, unless you’re going for a long exposure. To do a long exposure, open your photos and go to the Live Photo of your choice. Tap on the Live button in the left top corner, and click on Long Exposure. Make sure to only do this when shooting with your camera very still (preferably on a tripod) and with a subject that would look cool, like the ocean or a stream.
- Touch the screen where you want to focus. This is particularly important when shooting with Portrait Mode. After tapping to focus, slide your finger up or down to brighten or darken the image.

![]()
2 Portrait Vs. Photo
Portrait mode uses depth sensing to blur the background and keep the subject sharp, mimicking the look of a DSLR. It’s great for people, pets, or anything you want to isolate from a busy backdrop.

Regular photo mode keeps the entire frame in focus. It’s better for landscapes, group shots, or anything where you want both foreground and background details to stay sharp. For video, the cinematic mode is amazing, though tricky.
![]()
3 – Learn to be Still
Nobody likes a blurry photo. How many times have you taken what seemed to be a clear shot and when you blow it up you notice its every-so-slightly blurry? How is this possible?
Unless you have excellent amounts of sunlight, absolute stillness is required in order to avoid blurry results. Find structures to lean against to stabilize your iPhone. Hold the phone with two hands instead of one and at all times tuck your elbows into your body to help stabilize. You can even try holding your breath while you press the shot down, if you want to get real serious. Most of all, don’t get frustrated; especially when lighting is low and it’s hard getting a sharp image.

We carry around a small tripod for when we want to set the timer, or take a night shot. More on that below!
![]()
4 – Shooting at Night
Skip the flash! Most times, it ruins images. But if you have to, use flash and see if you can edit it later.

Shooting in excessively dark conditions leaves your images noisy looking with an unnatural color. Our solution is to use the tripod, have subjects stay really still, and toggle the night feature on once you have it very still. You can increase the exposure time, which really brings up what’s lit up. We shot these star and night photos this way, with 30 second exposures on our iPhone!

![]()
5 – Avoid Zooming In
Most new iPhones have extra optical lens for zooming in and out. They do a great job, When you pinch and zoom in, the digital zoom lowers quality. Instead, move closer or crop later.

![]()
6 – Learn to Edit within the iPhone!
When in photo mode, you’ll see a little button in the very top of your screen. If you click it, you toggle more settings for what your camera will do in future photos. Unless you have a very specific look you’re going after, we suggest editing photos after you’ve taken them.

Once in your Photos, click the little levels button at the bottom. That’ll open all kinds of options. We also suggest editing with restraint! Use the iPhone’s built-in editing tools for light and contrast adjustments. Avoid heavy filters (the days of wacky, vintage Instagram photos are over), so clean edits age better.


