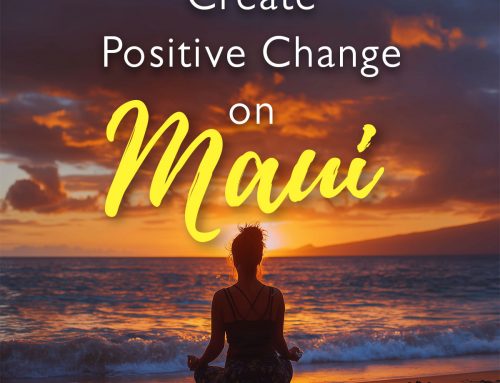
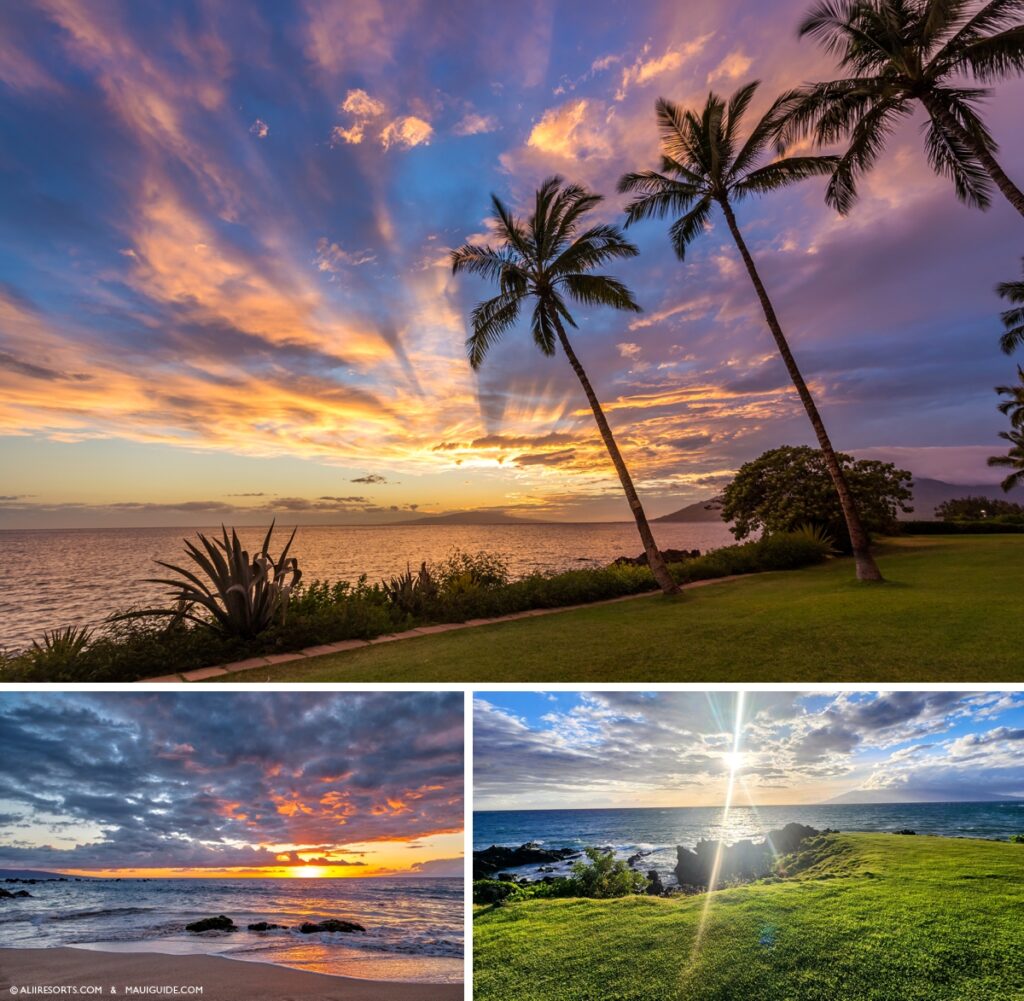
Sun on your shoulders, sand in your shoes, and that warm glow sliding across the water. Maui does a lot of things well, but those few minutes of soft, directional light before sunset and just after sunrise might be the island at its best.

If you want your photos to look the way it feels standing there, a few small tweaks to how you shoot in 2026 make a big difference, whether you are using a phone or a full camera kit.
![]()
What “magic hour” actually looks like on Maui now
Golden or “magic” hour is simply the short window when the sun is low, the light is soft, and shadows are long. On Maui, closer to the equator, that glow is shorter than many visitors expect. Plan for roughly 30 to 45 minutes after sunrise and 30 to 45 minutes before sunset, not a full hour.
A few quick planning tips:
- Use an app like PhotoPills, Sun Seeker, or even your phone’s weather app to check exact sunrise and sunset for your location.
- Arrive at your spot at least 30 minutes early so you can park, walk, and compose before the light turns great.
- Keep an eye on clouds. A thin layer can spread the color across the whole sky, while a thick wall on the horizon can cut the color off fast.
- It’s worth keeping an eye out for the Green Flash. It’s a real thing, though not something you can really capture with photo. Just sit back and enjoy it!
![]()
Modern gear reality: phones, mirrorless, and what you actually need
You don’t need a suitcase of lenses to bring home strong Maui photos anymore. Phone cameras and compact mirrorless bodies are very capable in low, warm light, as long as you nudge them in the right direction.
If you’re shooting on a phone
- Clean the lens – Salt spray and sunscreen smear tiny lenses quickly. Wipe the lens with a soft cloth before every set of shots.
- Turn on the grid – Use the 3×3 grid to keep your horizon level and place your subject off center.
- Control exposure:
– Tap on the brightest part of the scene, then drag the exposure slider slightly down so the sky keeps its color instead of turning white.
– On iPhone, tap and hold to lock focus and exposure, then slide your finger down a little to darken.
– On many Android phones, look for “Pro” or “Manual” mode and set ISO and shutter yourself. - Shoot some in RAW/Pro if your phone allows it – RAW files from newer iPhones and Android flagships hold more detail in sky and shadows, giving you room to adjust later.
- Stabilize when light drops – Use a tiny tripod or brace your phone on a rock or railing for the last light, when the camera uses slower shutter speeds.
- If you have an iPhone – We have a specific and thorough guide to shooting photos on an iPhone.
If you’re using a DSLR or mirrorless
Start with this simple baseline for wide Maui seascapes:
- Mode: Manual or Aperture Priority (M / A / Av)
- ISO: 100 to 400 for clean files
- Aperture: f/8 to f/11 for front to back sharpness
- Shutter speed: Let the camera choose in Aperture Priority, or start around 1/125 sec and adjust in Manual
For silky water or wave trails, a 3 to 6 stop neutral density filter lets you use shutter speeds around 1/4 sec to several seconds without blowing out the highlights.
![]()
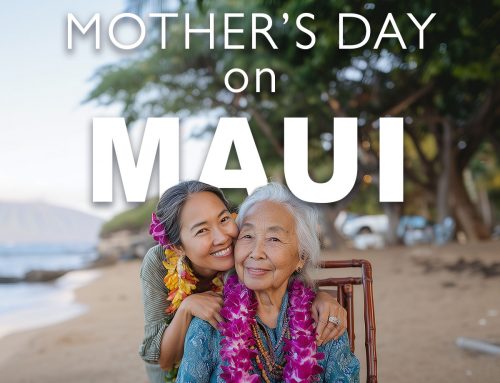
Shooting into the sun, the 2025 way
Adventure photographer Tim Kemple still swears by one big “secret”: do not always keep the sun behind you. When you move so the light hits your subject from the side or behind, the scene gains shape from the mix of light and shadow.
Here is how to do that safely and creatively on Maui:
- Angle the sun, do not stare it down – Stand so the sun is just outside the frame, or hidden behind a palm tree, lava rock, or your subject. This keeps contrast in check and gives a pretty rim of light around people.
- Underexpose a little on purpose
– Dial in −1 to −2 stops of exposure compensation, or in Manual, raise shutter speed until the bright parts of the sky still show detail.
– This keeps color in the clouds and lets you lift shadows slightly later if needed during editing. You can raise the shadows in Lightroom or Photoshop. - Keep your glass clean – Dust, salt, and fingerprints show up as blobs and streaks when you point toward the sun. Wipe the lens regularly, both phone and camera.
- Play with sun flare instead of fighting it – Step forward and back to change where the sun peeks between leaves or rocks. A tiny sliver of sun can give a starburst effect at f/16 or so.
- Try primes and fixed lenses – Simple prime lenses often handle flare more gracefully and stay sharper, which suits this style of shooting.
![]()
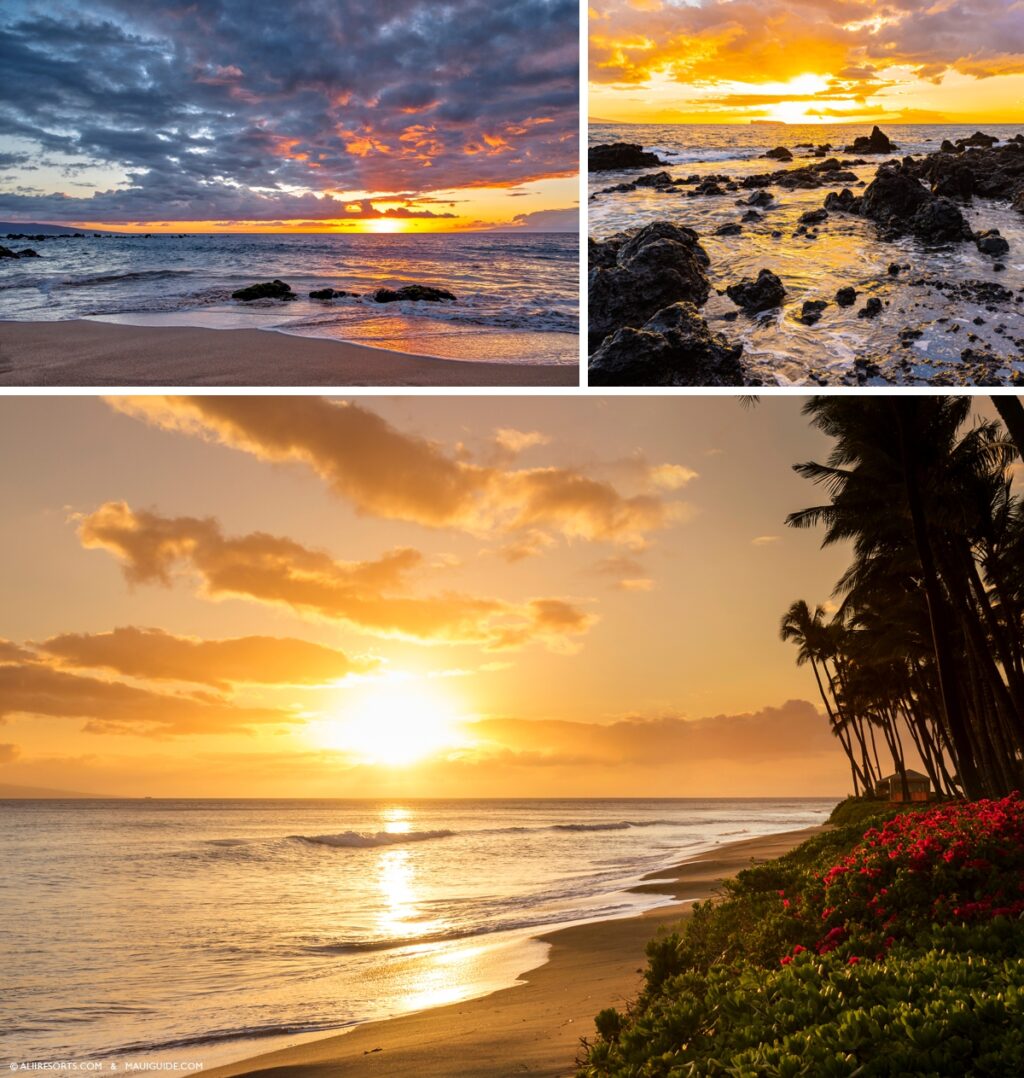
Simple exposure setup for your Maui sunset
Let’s translate the classic ISO, aperture, and shutter trio into a quick checklist.
1. Pick your ISO
- ISO 100–200 – Best for smooth, clean water and sky.
- ISO 800–1600 – Use once the sun has fully dropped and you want to keep shutter speed fast enough to freeze people. Newer cameras handle this range very well. you can reduce any noise in post-production.
2. Choose your aperture
Think in terms of depth:
f/8 to f/16
- Wide scenes with rocks, tide pools, and islands that all need to be sharp.
- Sunstar look when shooting into the sun at the edge of a frame (requires filter for sunstar).
- Lens flare when shooting at a certain angle of the sun, play with it in the view finder.
f/2.8 to f/5.6
- Portraits with the sunset behind your subject.
- Silhouettes where the outline of the person is the star and the background can soften.
For portraits with the sky behind: focus on the person’s eye, use f/2.8 to f/4, then darken the exposure a bit so the sky keeps its color. Add a touch of light from an off camera flash or phone screen to bring back face detail if needed.
3. Set your shutter
- People in frame – Try to stay at 1/125 sec or faster to avoid motion blur, especially with kids jumping in the shorebreak.
- Soft water look – On a tripod, drop to 1/15 sec or slower to stretch the waves into a creamy blur. A polarizer or neutral density filter helps reduce the light so you can get there even before the sun fully sets.
If your photos are too bright, keep ISO low and aperture the same and increase shutter speed a step or two. If they are too dark, slow your shutter or raise ISO slightly.
![]()
Haleakala sunrise today: what changed
If your dream photo includes the sun cracking over Haleakalā’s crater rim, there is one practical step you need now: a reservation.
- Sunrise viewing at the summit between 3:00 am and 7:00 am requires a vehicle reservation made online through Recreation.gov.
- Reservations open 60 days ahead, with a smaller batch released 2 days before, both at 7:00 am HST. These often sell out quickly, especially around holidays.
- The reservation is per vehicle, costs 1 dollar, and is on top of the usual park entry fee.
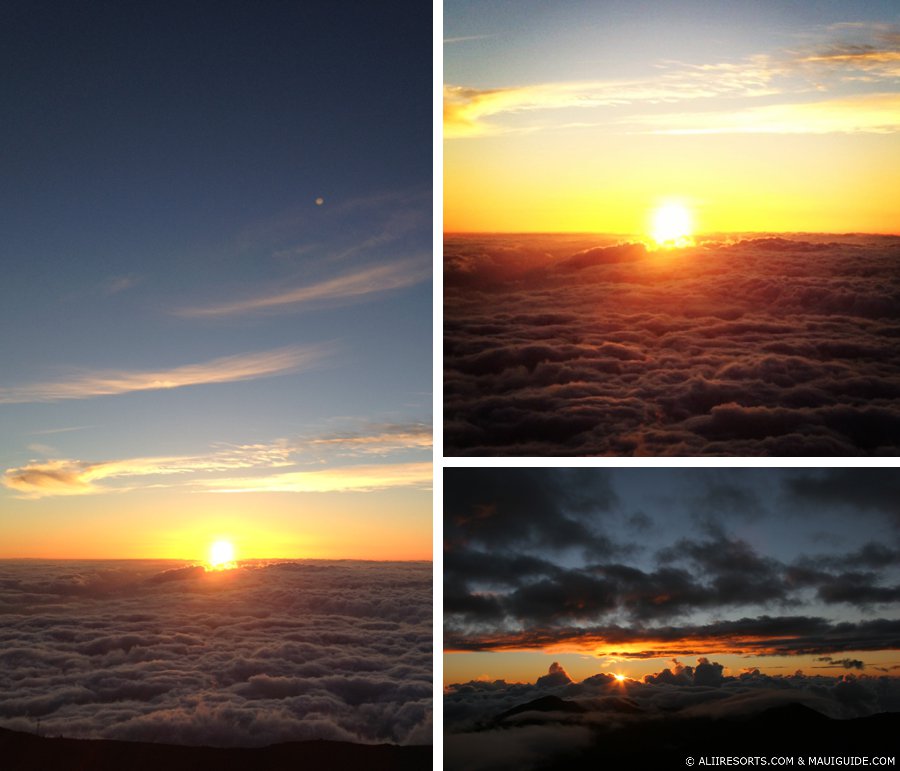
Once you’re up there, pack for winter in the tropics: wind, cold temperatures, and icy tripods feel very cold at 4 am altitude. Give yourself time to drive, park, walk to your chosen spot, and adjust your settings in the dark without rushing. it gets crowded, so it’s worth heading up even earlier. That said, sunset is usually much less busy and can offer up just as impressive colors.
![]()
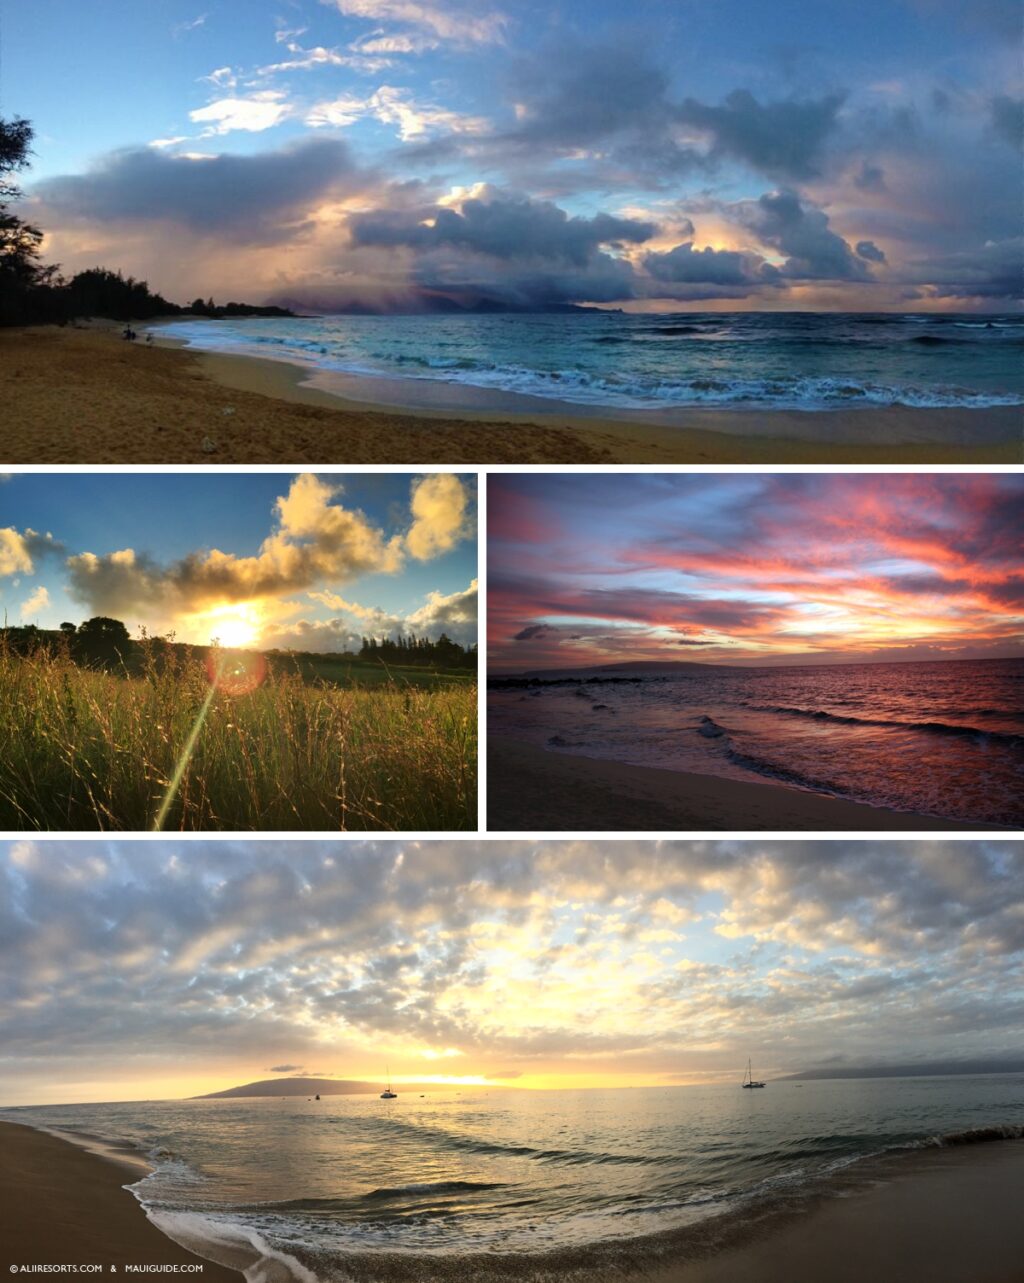
Where to shoot Maui’s magic hour now
Conditions on Maui changed after the August 2023 fires, especially in Lahaina, but most of the island is open and still very photogenic. Visitors are welcome, with a big emphasis on respect for communities that are rebuilding.
Here are updated ideas, keeping current access in mind:
South side: Kihei, Wailea, Mākena
Great for easy access, calm water, and plenty of foreground interest.
- Keawakapu Beach – Long stretches of sand and lava rocks at the ends, lovely for reflections in wet sand.
- Kamaole I, II, III & Charley Young – Classic “golden sand, evening swim” photos, strong color.
- Poʻolenalena & Makena Surf area – Low crowds, lava rocks, and lineups of palms that photograph well.
- Makena Cove (Secret Cove / Pāko Cove) – Tiny pocket of sand framed by dark rock and turquoise water. The entrance is a gap in the rock wall along Mākena Road, with no lifeguard or facilities.
Tip here: park legally along the road, keep noise low in early morning or at sunset, and pack out every bit of trash.
West Maui: choose open areas and be mindful
The core of Lahaina town remains a place of recovery. West Maui resort areas and beaches like Kāʻanapali, Nāpili, and Kapalua continue to welcome visitors.
- Kapalua Bay & Nāpili Bay – Gentle coves, often with soft evening color and silhouettes of Molokaʻi.
- Kāʻanapali – Long curves of sand and strong sunset views with sailboats in the near distance.
If you are anywhere near Lahaina, follow all posted signs, respect closures, skip photos of private property or burn areas.
Upcountry and North Shore
Magic hour is not only about the ocean.
- Upcountry roads near Kula and Makawao – Wide views toward central Maui, jacaranda season in spring, and rolling pasture lit from the side as the sun drops.
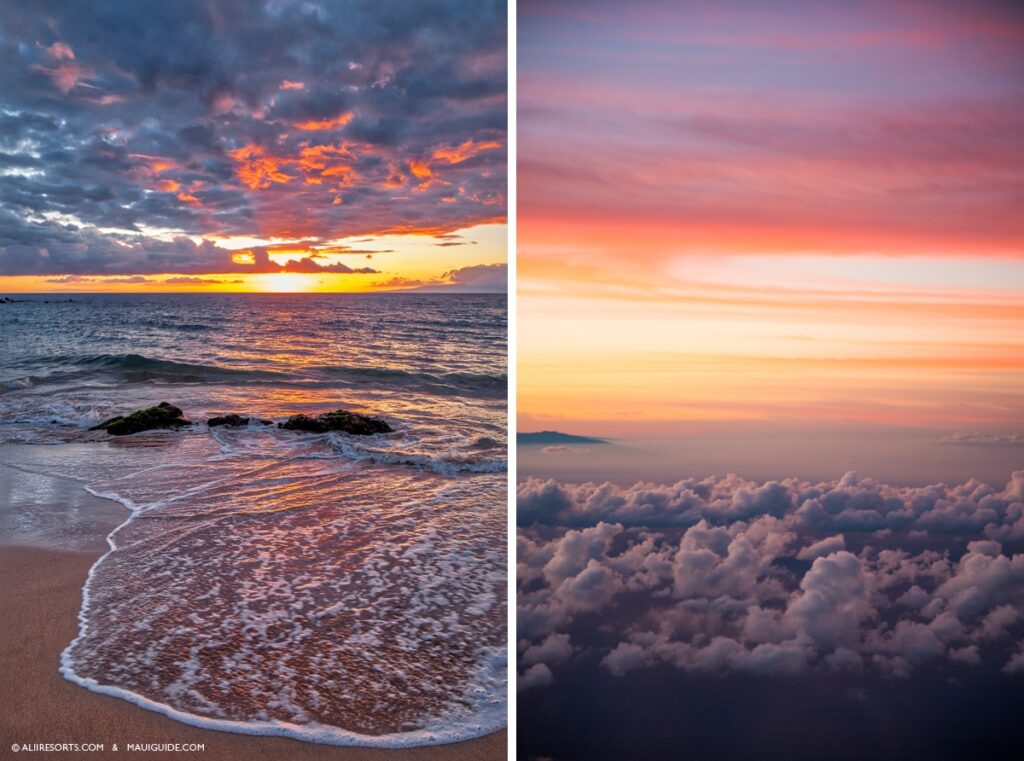
- Haleakalā summit and pullouts – Late light spilling into the crater, or pastel color over the cloud deck after the sun has already set.
- North Shore – Sunsets don’t dip into the ocean, but they can make the sky and ocean a odd pink and orange color. It feels otherworldly and can make for amazing photos.
![]()
Little habits that make magic hour photos really work
A few simple habits matter more than any piece of gear:
- Get into position early instead of sprinting at the last minute.
- Take a “test run” night early in your trip to practice settings without pressure.
- Shoot through the whole window, not just the peak color. Some of the most subtle, pleasing tones appear 10 to 20 minutes after the sun actually disappears.
- Set the camera down now and then and simply watch. The memory is the real point, the photos are the bonus.
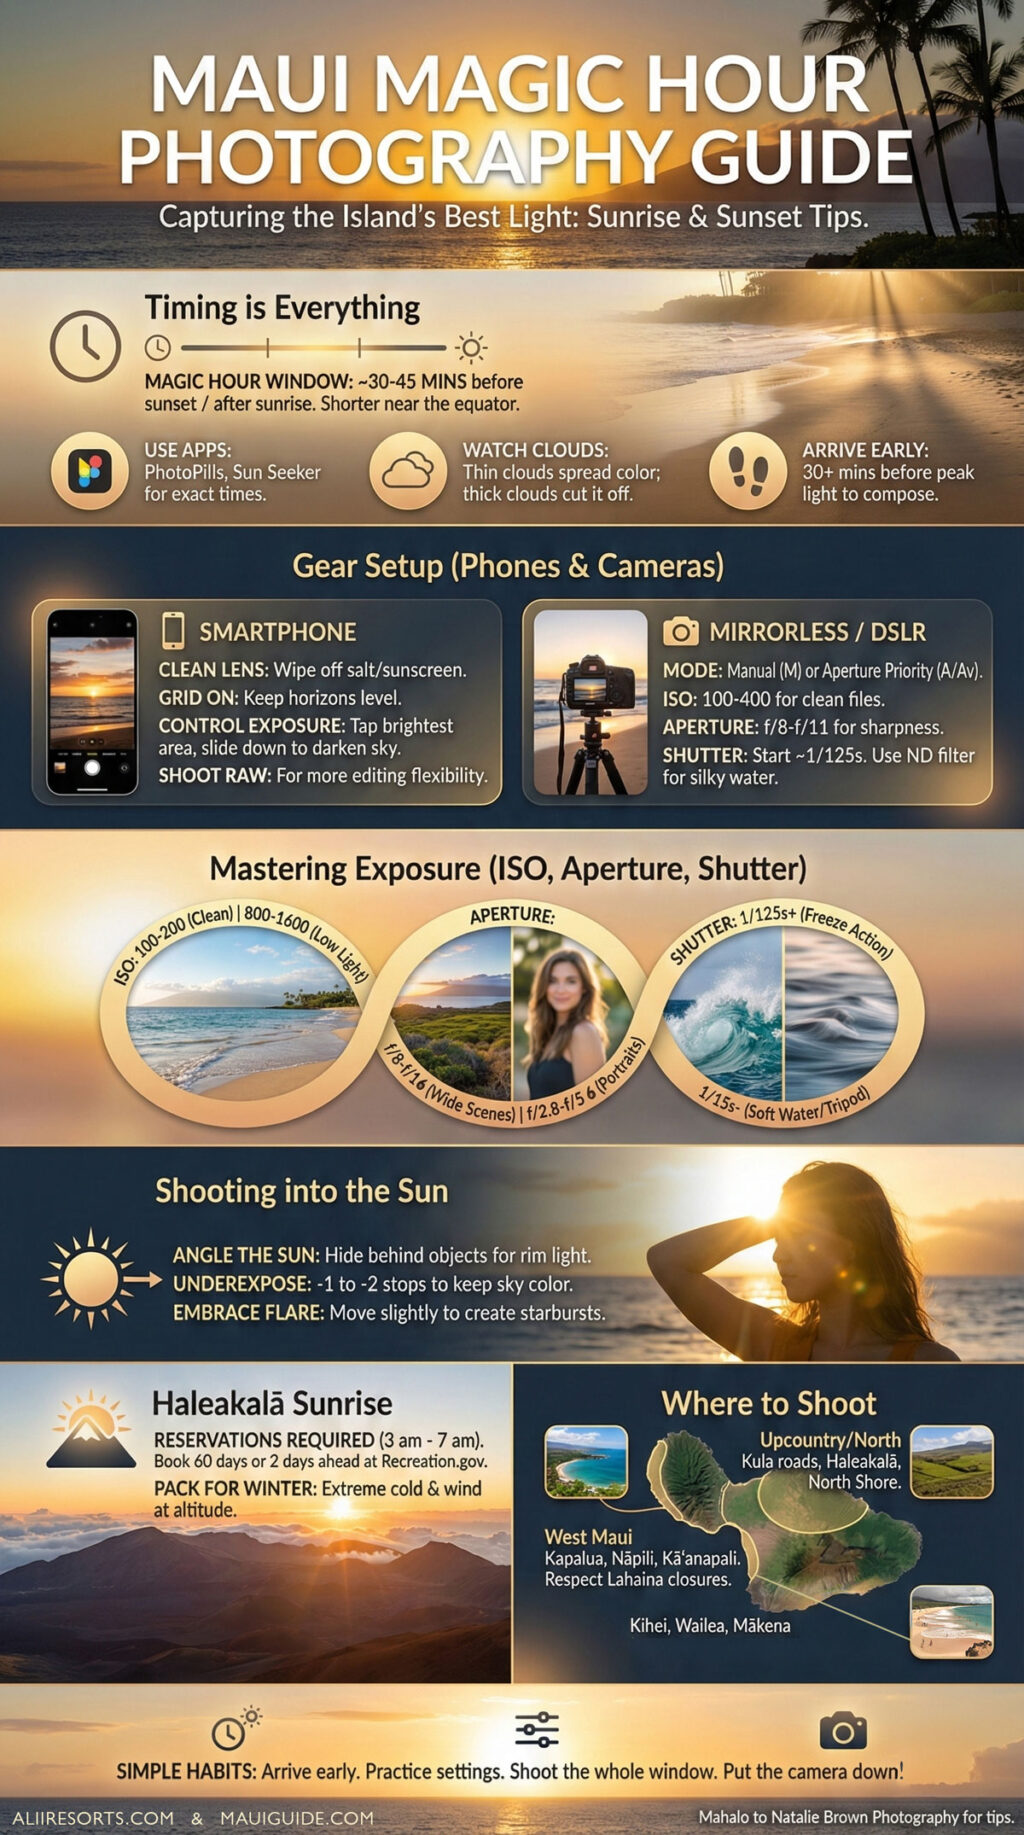
Mahalo to Natalie Brown Photography for many of the photography tips!